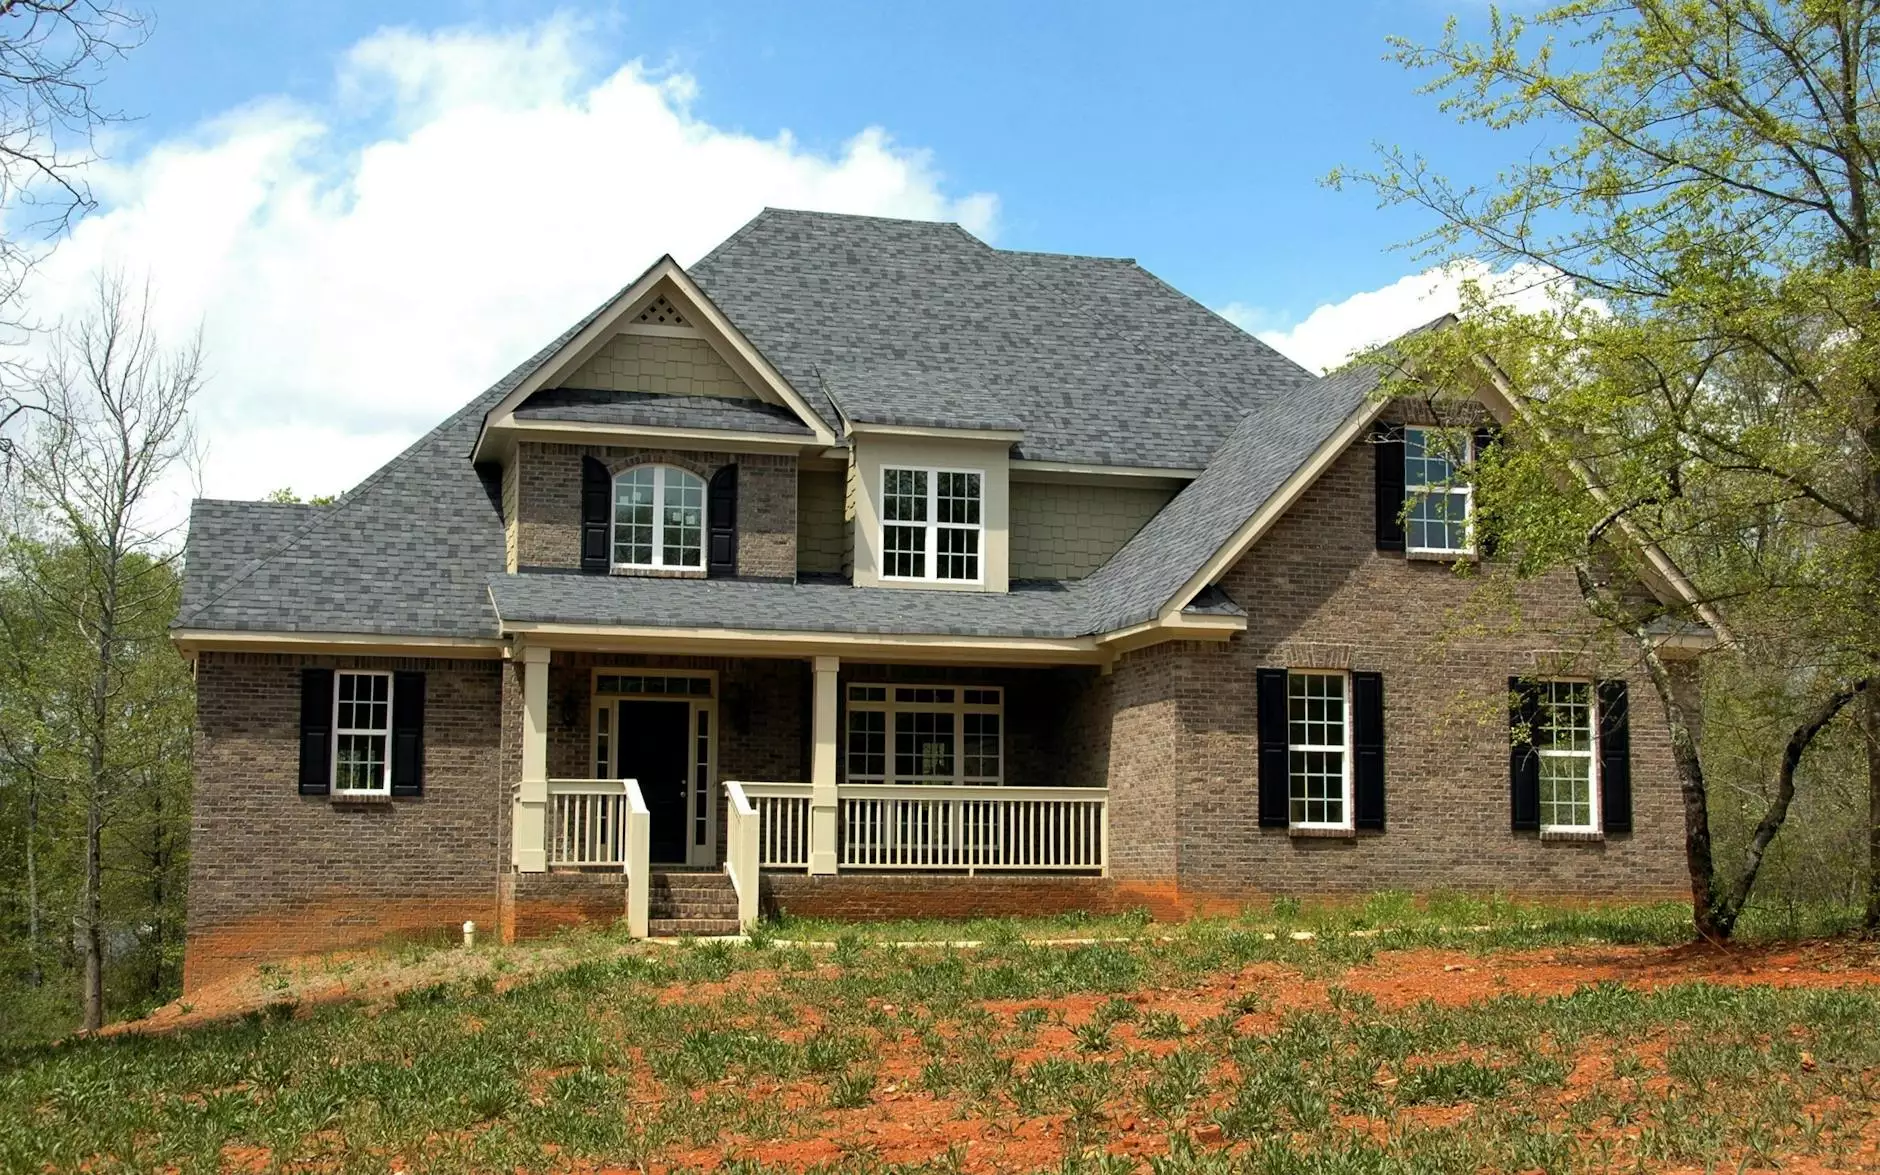
How To Repair Missing Roof Shingles
Introduction
Welcome to Bio-One Atlanta's Learning Center, where we provide valuable information on various topics related to the cleaning industry. In this article, we will guide you through the process of repairing missing roof shingles. As a trusted business and consumer service provider, Bio-One Atlanta is here to help you maintain the integrity and functionality of your roof.
The Importance of Roof Shingles
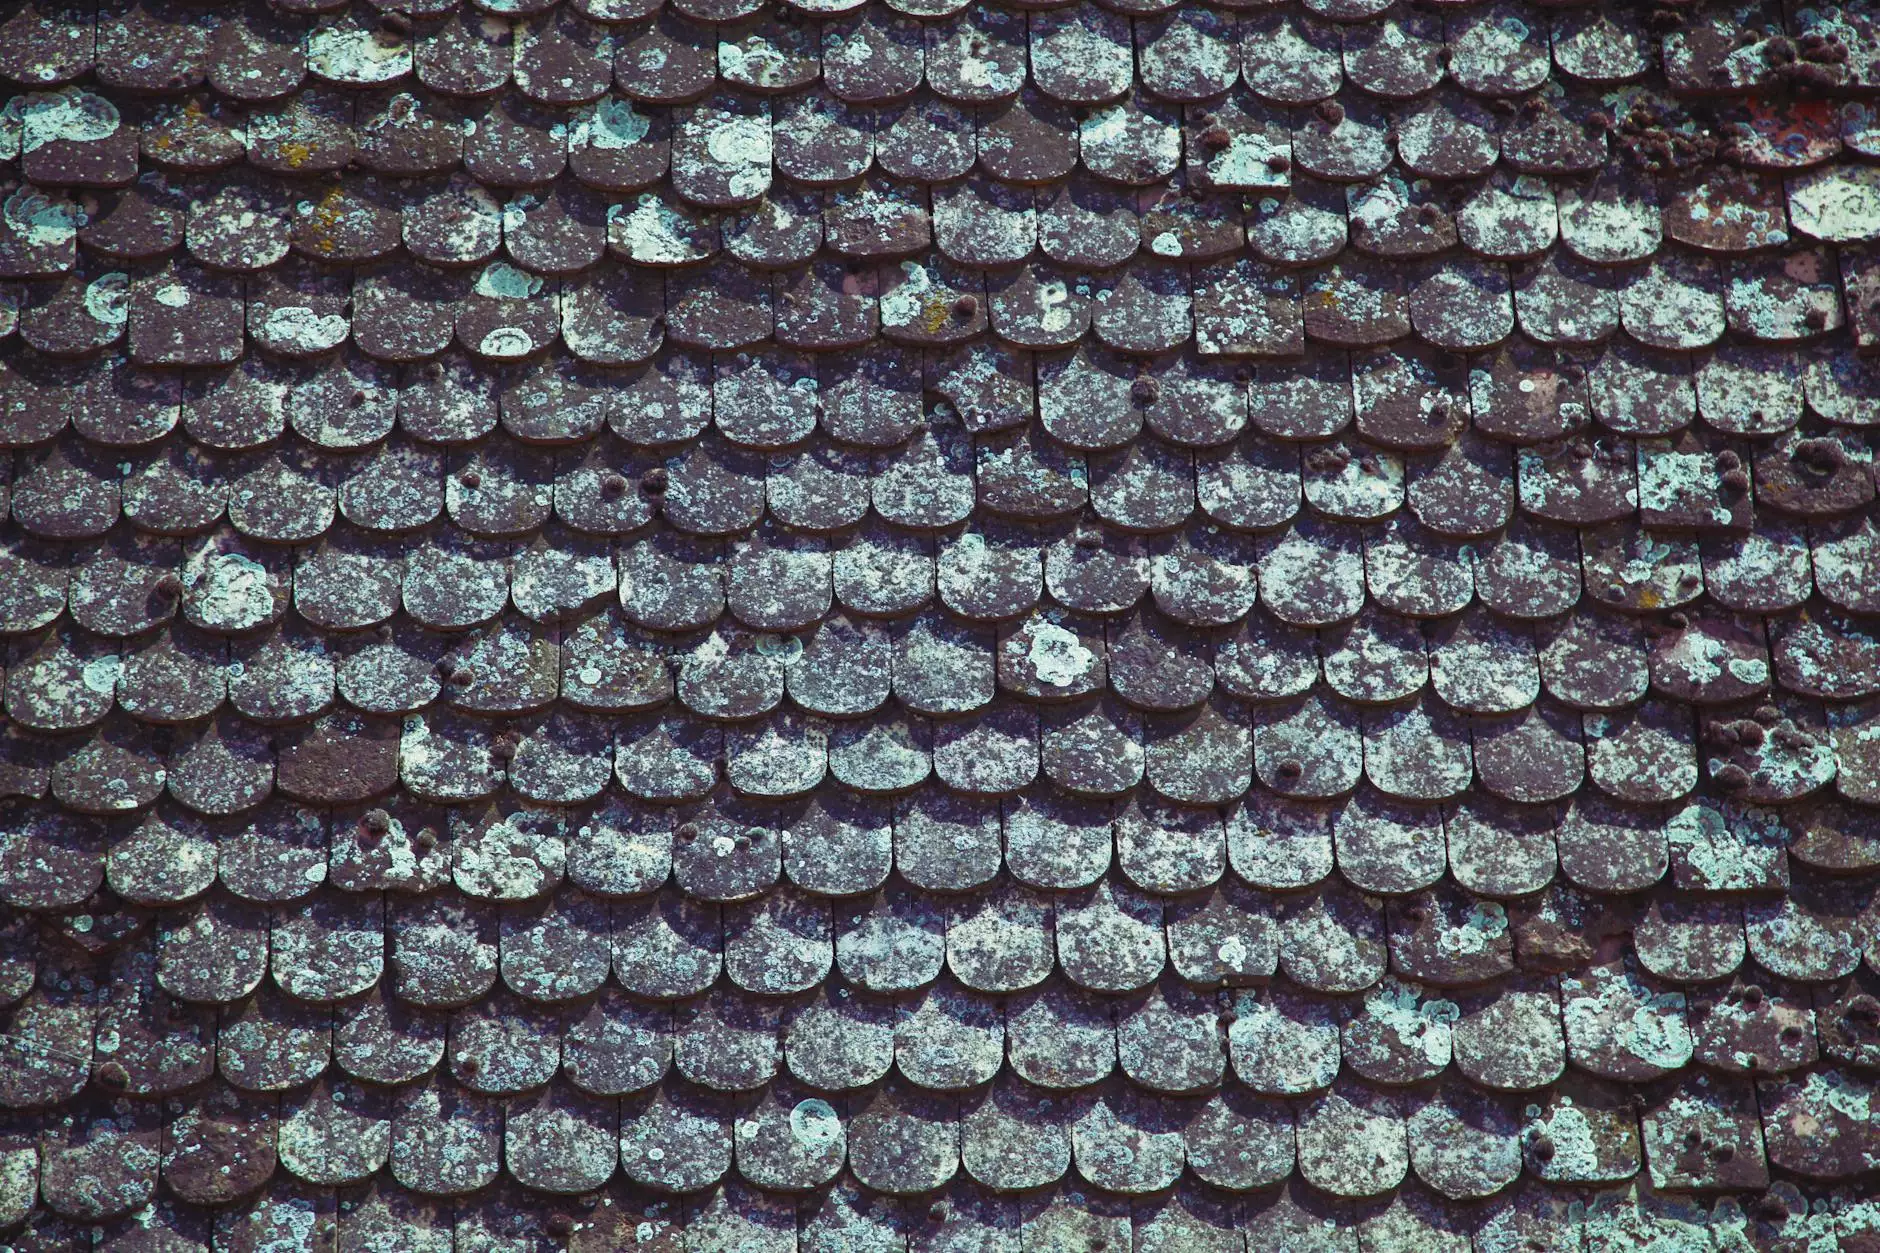
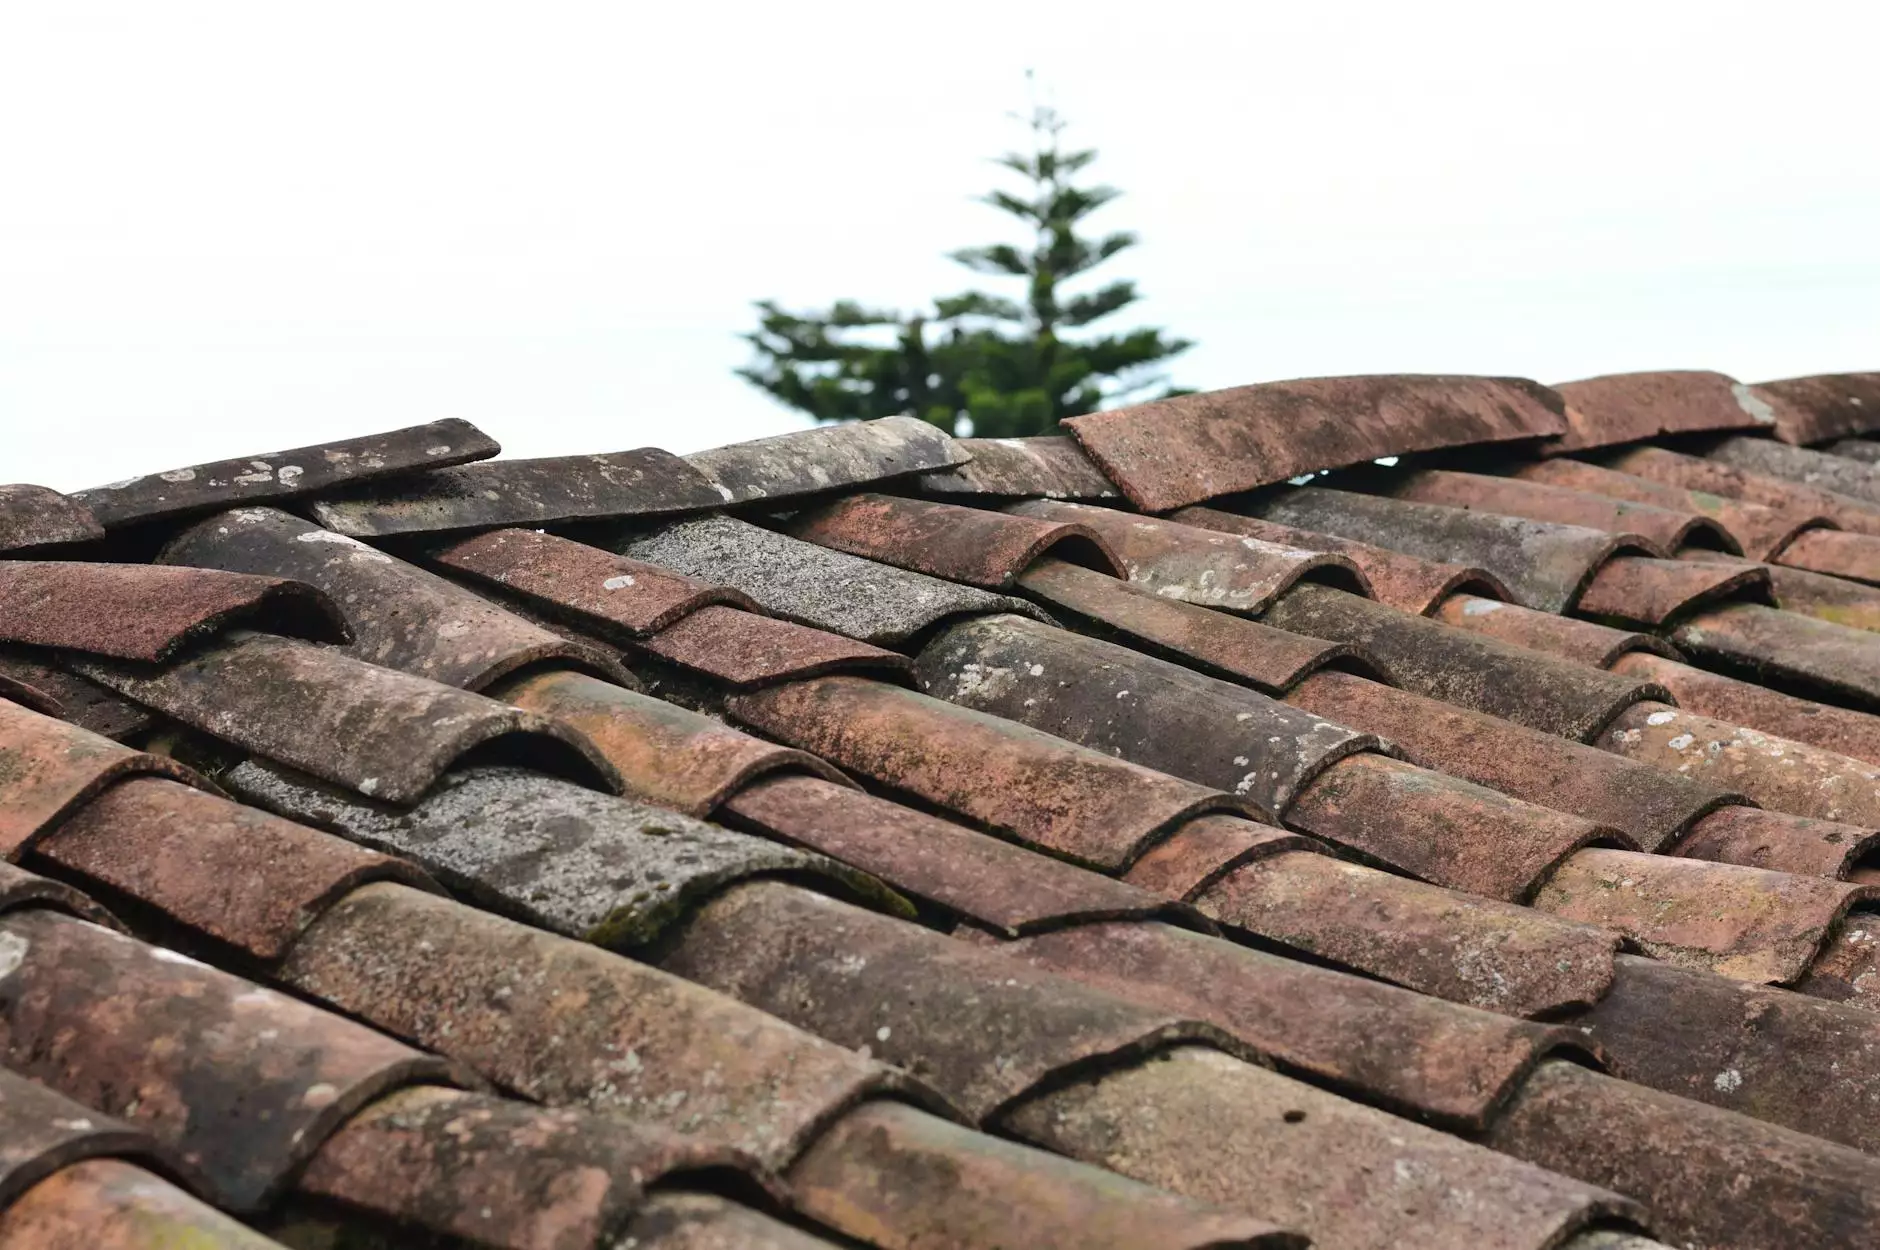
Roof shingles play a crucial role in protecting your home or business from the elements. They act as a barrier against rain, snow, and debris, ensuring that your property remains safe and dry. However, over time, shingles may become damaged or go missing due to various factors such as extreme weather conditions, age, or improper installation.
Identifying Missing Shingles
Before you can begin repairing missing shingles, it is important to identify which ones need attention. Inspect your roof thoroughly and look for any visible gaps or areas where shingles are noticeably absent. Additionally, check for signs of water damage or leaks, as these can indicate missing shingles in specific areas.
Gathering the Necessary Tools
Once you have identified the missing shingles, gather the necessary tools for the repair job. These may include:
- Replacement shingles
- Roofing nails
- A hammer
- A pry bar or shingle ripper
- Self-adhesive roofing cement
- A ladder or scaffolding for safe access
Step-by-Step Guide to Repairing Missing Roof Shingles
Step 1: Safety First
Before you begin any roof repair work, ensure that you prioritize safety. Use proper fall protection equipment such as harnesses and secure the ladder or scaffolding properly. It is always advisable to work with a partner who can assist you and keep an eye out for your safety.
Step 2: Remove Damaged Shingles
Using the pry bar or shingle ripper, carefully remove the damaged shingles or the ones surrounding the missing ones. Take caution not to damage adjacent shingles or the underlying roof structure during removal.
Step 3: Prepare the Area
Once the damaged shingles are removed, clean the area by removing any loose debris or nails. Ensure that the surface is clean and ready to receive the replacement shingles.
Step 4: Install the Replacement Shingles
Take the replacement shingle and position it carefully to align with the existing shingles on the roof. Secure the shingle in place using roofing nails, making sure to drive the nails through the designated nail area on the shingle. Repeat this process for each missing shingle, ensuring a tight and secure fit.
Step 5: Apply Roofing Cement
To further reinforce the replacement shingles and create a waterproof seal, apply a small amount of roofing cement to the edges and underside of the shingle. This will help prevent any potential water leaks and enhance the overall durability of the repair.
Step 6: Inspect and Maintain
Once all the missing roof shingles have been repaired, conduct a thorough inspection to ensure that everything is properly in place. Periodically check your roof for any signs of damage or potential issues to address them promptly.
Conclusion
Repairing missing roof shingles is an essential maintenance task that should not be overlooked. By following the steps outlined in this guide, you can effectively restore your roof's integrity and protect your property from further damage. Remember, if you encounter any difficulties or prefer professional assistance, Bio-One Atlanta is just a call away. Our team of experts is ready to provide you with top-notch cleaning services, including professional roof repair.